The Wizard
Note: Cerberus FTP Server Version 2025.1 introduced a new getting started wizard to streamline your setup time. This blog has been updated to reflect the new wizard’s changes.
When you first launch Cerberus FTP Server, the Getting Started Wizard will guide you through the essential steps of configuring the server for client connections. By the end of this process, your server will be fully equipped to accept connections from a range of clients, including FTPS, SSH SFTP, and HTTPS.
Step 1 – Network Setup
Public IP Auto-detection for Passive Mode FTP
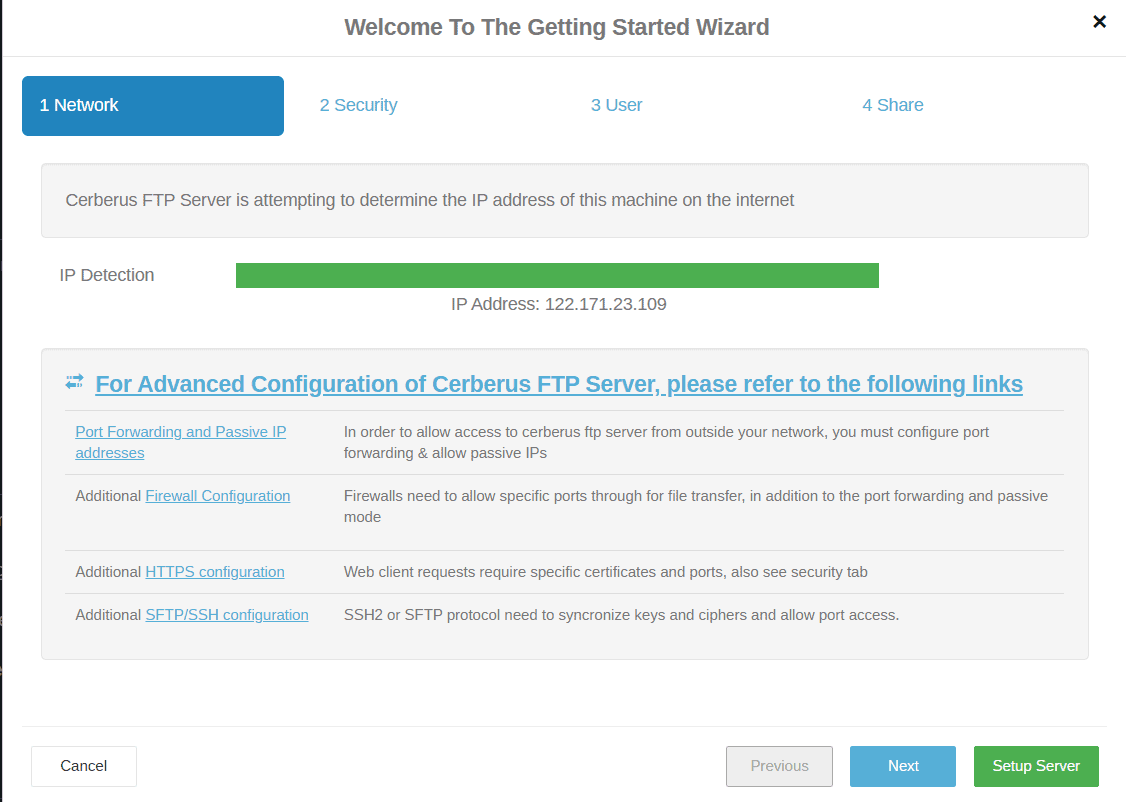
Configuring basic FTP access to your server can be complex, especially when it comes to preparing the machine to accept FTP data connections. Unlike SSH SFTP or HTTP/S protocols, FTP requires two connections for each client session, making it more complicated. The first connection is used to exchange commands and status between the FTP server and the client, while the second connection is created every time a directory listing or file transfer takes place. To establish the secondary data connection, the FTP server has to respond with an IP address and port that the client can connect over. To simplify this process, the server automatically detects the IP address of the server on the Internet and uses it when sending the client connection instructions.
Network Setup
Upon launching Setup wizard, it opens to the Network tab and public IP auto detection immediately starts. The Network Setup page detects basic network settings and tries to provide advice on any changes that may need to be made because of the computer’s network configuration.
Step 2 – Security
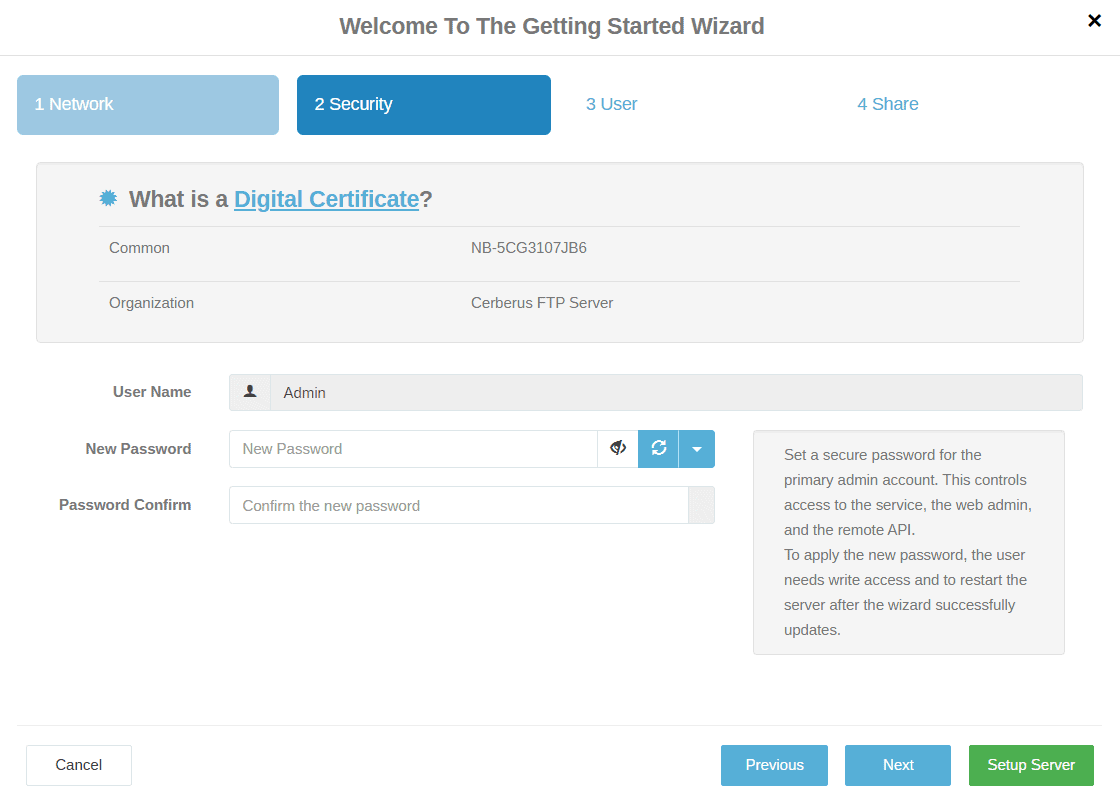
The Security page of the Getting Started Wizard helps the administrator configure a few basic server security settings.
Cerberus FTP Server fully supports TLSv1.2/v1.3 encryption over FTP (FTPS), HTTPS, and SSH SFTP. To enable FTPS, HTTPS, and SSH SFTP support, a digital certificate must be generated for the server. This digital certificate contains the necessary security data to allow the server to establish encrypted connections with clients.
Cerberus FTP Server automatically generates a new, self-signed certificate for you the first time you run the Getting Started Wizard, and displays common details. You can replace the certificate at any time through the Security page of the Server Manager.
Web Administration Password
The Security page allows you to set up a single password that can be used for both web administration and remote API access. It is recommended to set a strong password, regardless of whether or not you use web administration.
Step 3 – Initial User Creation
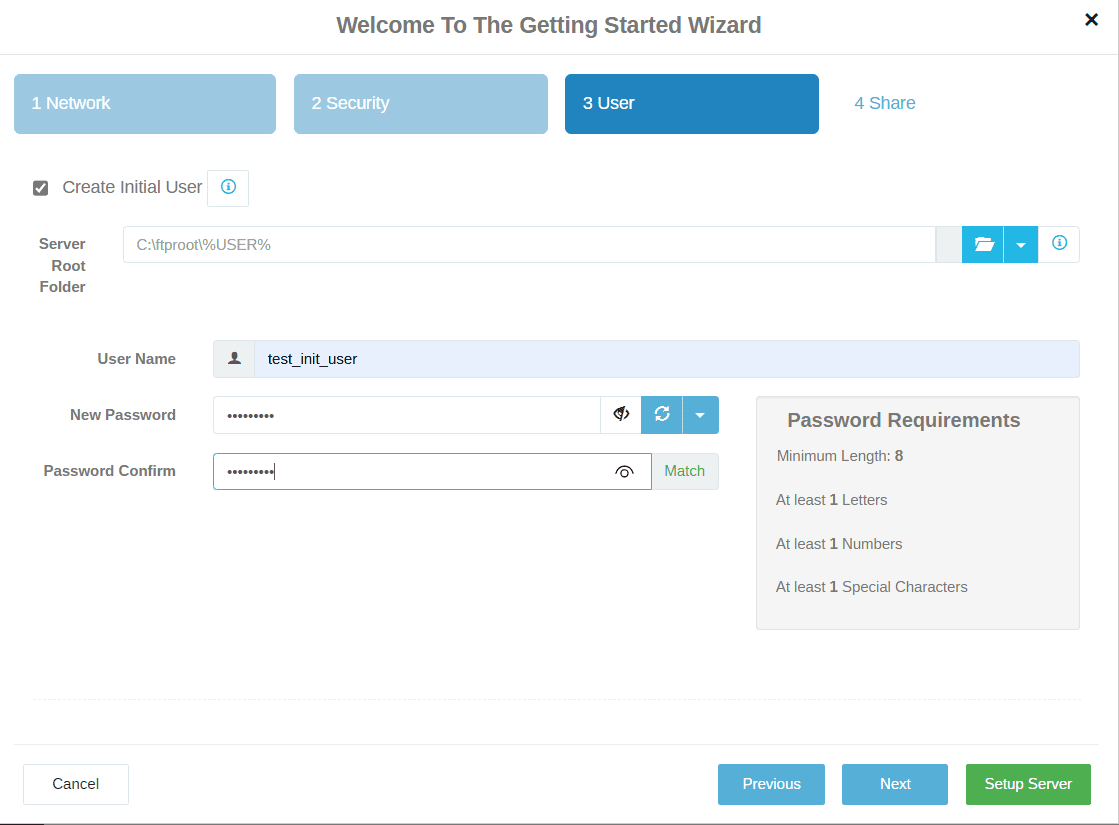
The User Creation page will allow you to automatically create a simple user account with access to a directory on the local machine. You can use this account to test out your initial connection to the server. You can turn off the creation of the user account by unchecking the “Create an Initial User?” checkbox.
By default, ‘inituser’ user will be created under the User Manager. The default ‘inituser’ user will have download and upload-only access to the “C:\ftproot\inituser” directory as their root drive. This directory will be created if it does not already exist. Please note, the default settings for the ‘inituser’ user allow anyone to connect to your FTP server with the provided password. To create your own user account, you may choose a different user name, and their default directory will be created as “C:\ftproot\differentUserName. If you’d rather customize a new user in full rather than the default settings, uncheck the “Create Initial user” box and the ‘inituser’ user will not be added.
You can further customize the newly added user, or create and manage additional users, by navigating to ‘User Manager’ > ‘Users’ after the “Getting Started” wizard has finished.
Step 4 – Initial Share Functionality
The “Share” tab within the Cerberus FTP Server Getting Started Wizard enables administrators to create a shareable folder during initial server setup. This folder allows others to upload and download files, and is part of Cerberus FTP Server’s Public Share feature, which streamlines file sharing with clients, partners, or the public.

Initial Folder Share
The wizard generates a folder named “init_share” within the user directory (created under the “user” tab) and a unique, time-limited public link. This link can be opened in the webclient to upload or download files to the shared folder. For instance, if the initial user “inituser” has the directory “C:\ftproot\inituser”, the shared folder’s path would be “C:\ftproot\inituser\init_share”.
The default expiry time for file shares is 30 days. This can be changed in the share settings via the webclient using user credentials.
The webclient has a wizard to manage public shares, including file and folder sharing and other add-on features.
To use share functionality, create an initial user in the setup wizard. The “Create Public Share” checkbox will be checked by default in the share tab.
After clicking “Setup Server” in the setup wizard, a message will show that the initial user has been created, along with the share link for the initial share folder.
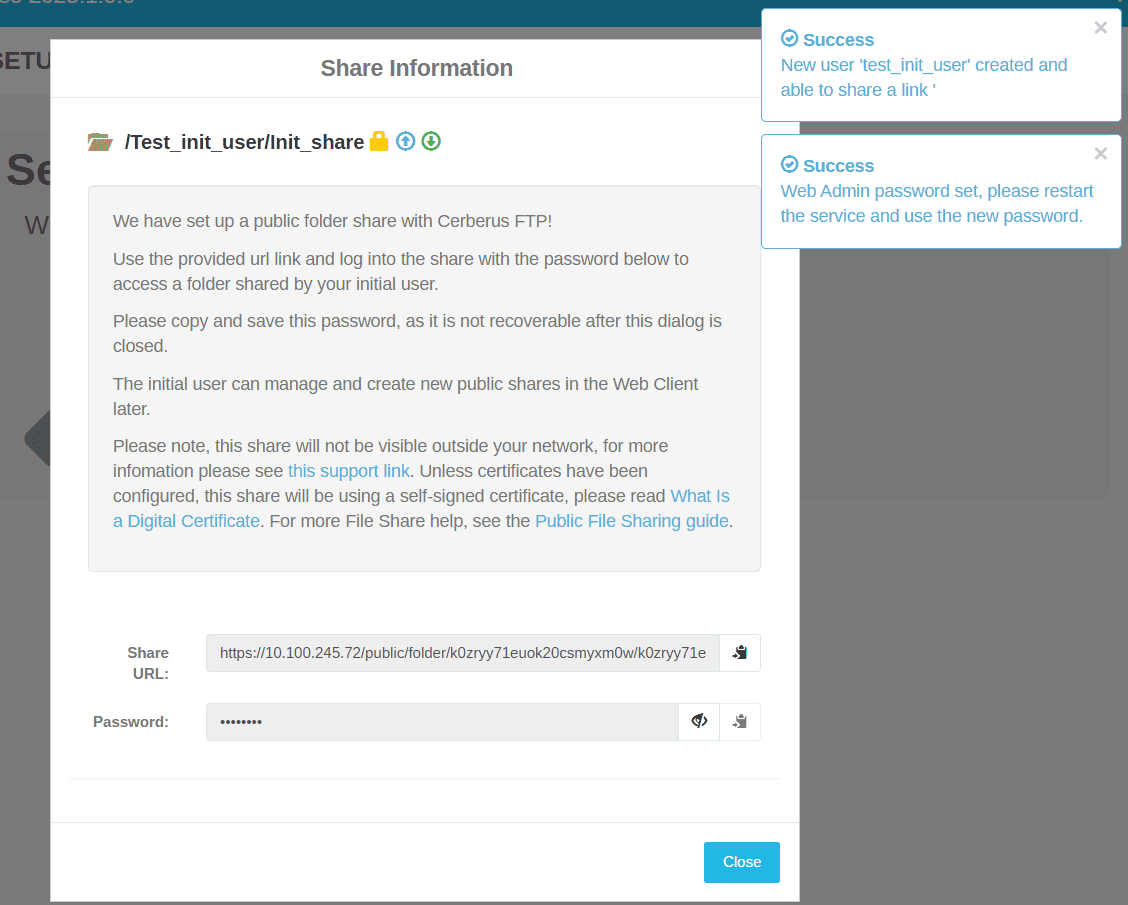
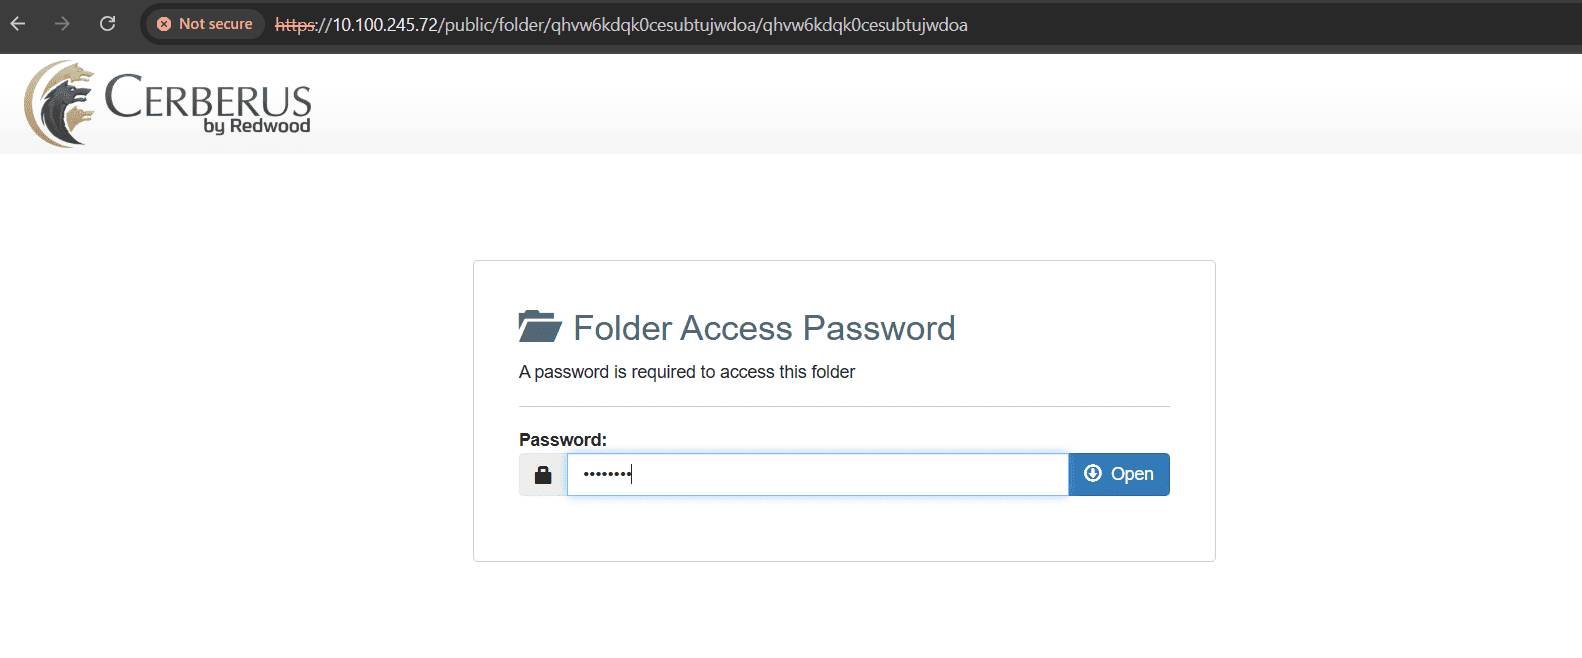
The share folder can be accessed by copying the share URL shown below into a browser and entering the generated password.
Note: The Public Share feature is exclusively available for Enterprise, Enterprise Plus, and Trial license holders. Consequently, the share tab within the setup wizard will only be accessible to these license holders. It will not be available for other license holders, such as professional license holders.